khaoticreations
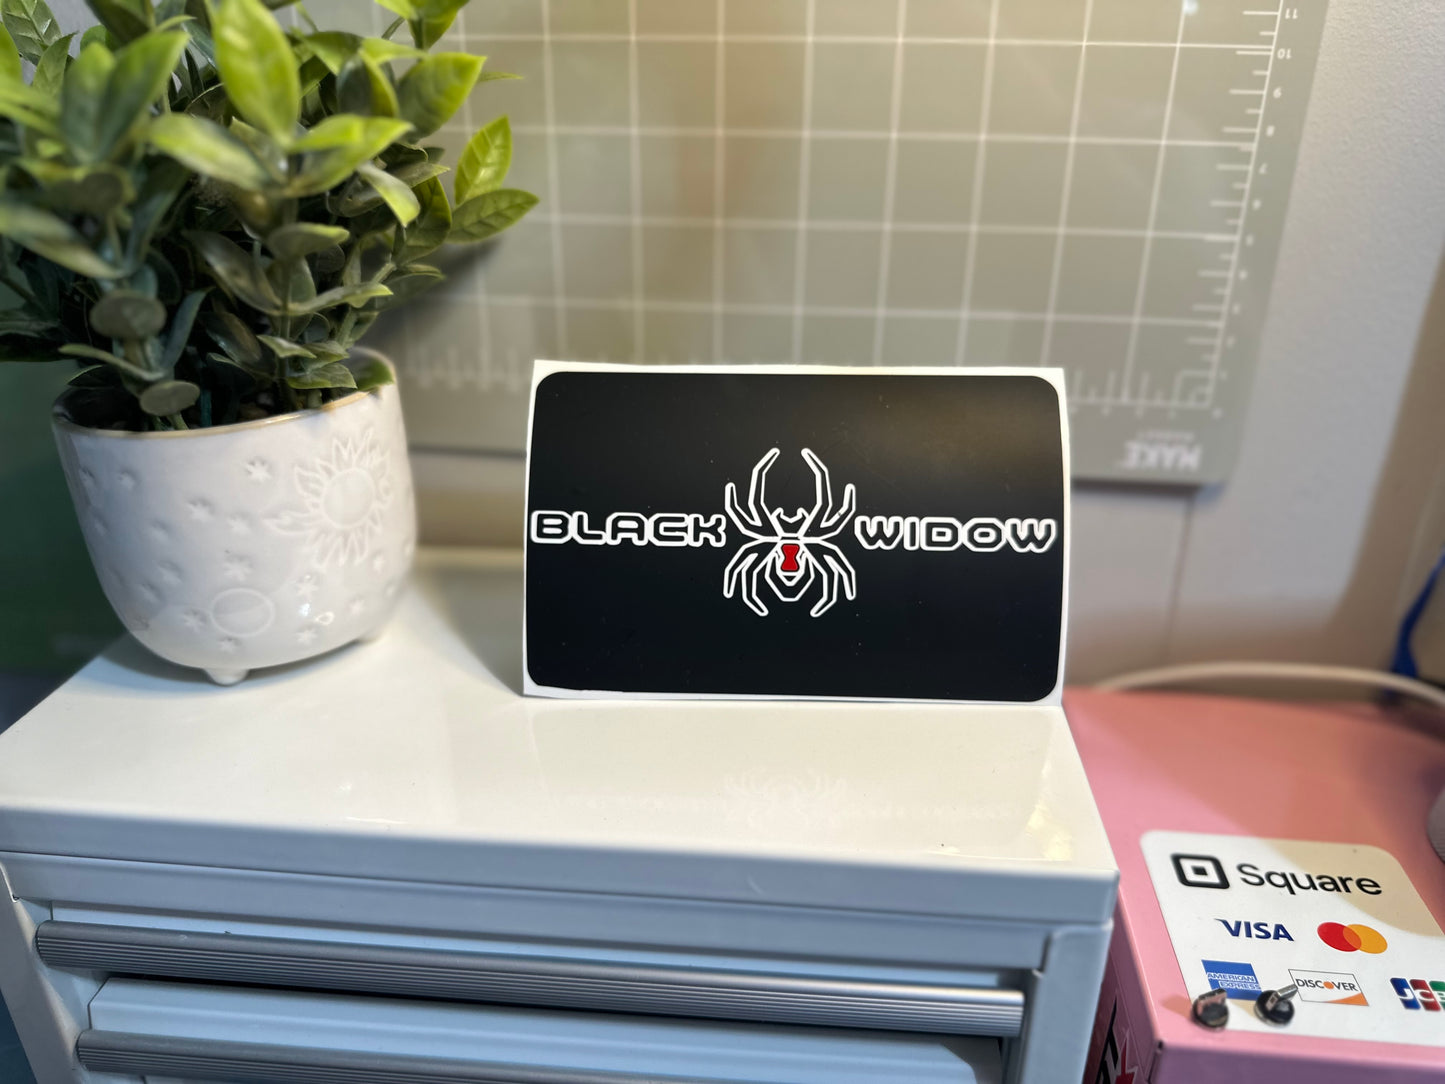
Black Widow AT4/AT4X SunVisor Warning Label Blackouts | (set of 2)
Black Widow AT4/AT4X SunVisor Warning Label Blackouts | (set of 2)
Couldn't load pickup availability
Hate those lame warning stickers on your sunvisor?! Who doesn’t?!
Those ugly yellow & white warning labels would look A LOT better if they weren't on your visors..but unfortunately, they are…and they’re pretty much permanent...UNTIL NOW!!
With these easy to apply "peel & stick" decals from Khaoticreations, you can give your interior that nice clean appearance you really want by covering those unsightly warning labels PERMANENTLY!!
Sold as a set of 2.
Khaoticreations IS NOT RESPONSIBLE for receiving incorrect dimensions. Please specify your if you need dimensions differently than specified.
Each label measures 5.5” x 3.5” - if you’re looking for a different size, just leave the measurements in the personalization section.
These covers come with your choice of any logos listed above (as well as not listed - just leave your requested choice in the personalization section).
* * For a completely “clean” & blended look, opt for a plain blackout. * *
> > Blackouts are available in any color, pattern, or vinyl of your choice! ..just simply request if your choice isn’t available - Custom made-to-order! < <
- Made to the highest quality standards with superior & top-rated vinyl, such as Oracal651.
- Self-adhesive removable (but not reusable).
- Easy to Apply & Remove / Peel and stick with Transfer tape.
- Suitable for both indoor applications (7 yrs.) & outdoor (5 yrs.)
- Resistant to fading and waterproof material.
*Top Layer: Pre-Mask/Application Tape. Used to hold the separate pieces of vinyl that make up the decal together until after installation
*Middle Layer: The pieces of vinyl that make up the actual decal.
*Bottom Layer: Release Liner/Backer Paper. The first layer that will be removed during installation
* Your Decal Application Instructions & Care Guide *
1. Clean application surface and allow too fully dry (use isopropyl alcohol for best results).
2. On your hard surface press the transfer tape, vinyl and backing paper with a credit card or similar.
3. Carefully remove the paper backing from your decal leaving only the decal & top transfer sheet.
4. Align the decal where desired and press onto surface (press from the middle outwards for best results).
5. Now use that card to completely adhere & smooth your decal onto the surface (eliminate any bubbles from the top down).
6. Once your decal is fully adhered, slowly peel away transfer tape starting from top corner down. (BE PATIENT & gentle while removing transfer tape or you may risk ripping/pulling layer(s) with the transfer sheet removal.
7. That’s it, you did it!! Doesn’t your vehicle look sooo much cleaner now?!
Share